

iPhone App Review - Whitagram
Whitagram is an awesome app I use all the time for Instagram. I love it because I can easily keep the exact size I want my image (for instance, a vertical image instead of square) and I get to add my own border or frame. Instagram still crops some of the edges of certain vertical images, and it doesn't allow for selecting a border around an image.
This is how Instagram cropped my image (left) compared to my framing in Whitagram (right):

I love having a clean white border to my images; it makes it look like a matted print. Using Whitagram also makes your Instagram feed look clean, showing a little more space between the photos (see image below). I like this look.
Let's get to it! This is Whitagram's home screen, where you choose to take an image with your camera or select one from your library.

Once you bring it in from your library, you'll see this screen. This is what it looks like without a border. I'd like to add a white border around the top and the bottom, so I'll click the white square in the middle of the toolbar below the photo.

Choose your frame color and size by sliding the bottom slider to the right. I usually end up around 10-12 for the extra white space around my image.

If you'd like a different color of background, you can choose from all the colors below. I usually stick with white, but these can be fun to use as well.

To save those changes, just click anywhere on your image. The icon on the left of the toolbar below your image (the three circles) will allow you to edit your image using Aviary. Here you can add filters (effects), change the brightness, saturation, sharpness, add text and more.

Once you have your final image, click save on the top and you'll come to an export screen that looks like this:

I always save mine in the Large file size. Then choose to save it to your camera roll or send it straight to Instagram or other apps like Twitter or Facebook.
Whitagram is a pretty awesome app that is easy to use and can really take Instagram photos to the next level!
Don't Own a Wide Angle Lens? Try a Panorama!
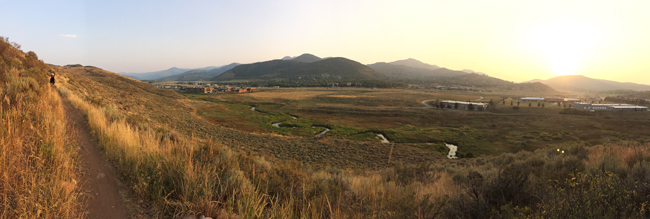
Today I have a fun quick tip for shooting interiors, on a budget. It might take a while before you have a few extra lenses to add to that camera bag of yours. If you don't own a nice wide angle lens, here's a trick you can try! If you own an iPhone, or even some new DSLR cameras such as the Nikon D3300, you have a simple built-in panorama mode. Sometimes it's easy to forget that you can make fun panoramic images indoors as well. If you're careful and take your time, you can get a great panoramic shot of a room and make it look a lot bigger by fitting more of the room into your frame.
Here's an example from just my iPhone:
If you are using your iPhone for a panorama, make sure you move slowly and keep the arrow as close to the yellow line guide they give you. If you rush it or move too much, parts of your image won't align correctly (see the jagged window below).
The quality won't be quite as good as your DSLR, but it's a nice quick tool you can use to fit more space in a photo. If you don't have the right lens or don't feel like taking out a tripod and stitching together your own panorama with multiple images using photoshop, try this! It's so easy.
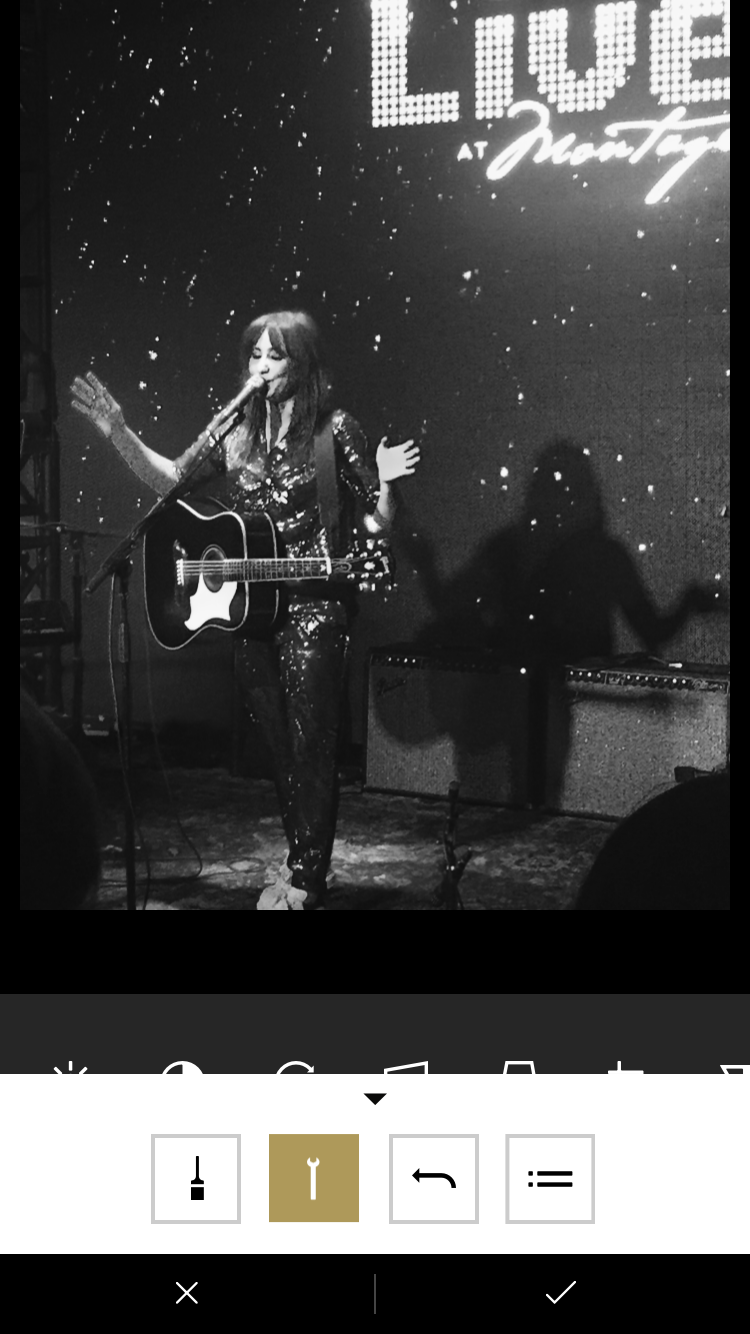
The Easiest Way to Edit Your iPhone Photos!
Today I created quick video tutorial on how to edit your iPhone photos, just using the built-in editing options on your camera! You don't have to download ten different apps just to edit your photos (although there are some good apps for that, which we'll cover another day). Editing can be quick and easy and the difference is SO WORTH IT. I usually edit my favorites right after I take them on my phone and it honestly only takes about 10-20 seconds to get them to look a lot better.
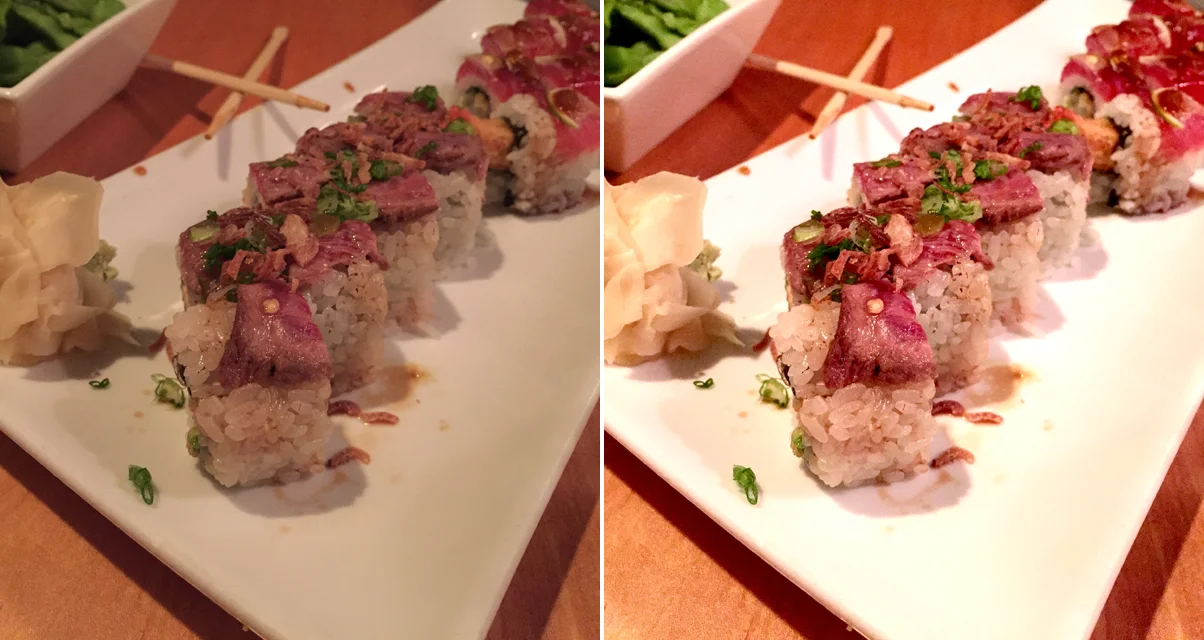
I am also big fan of Chatbooks, a great company that compiles Instagram photos into little books. I make sure my photos are bright enough before I post them to Instagram, or they will print way too dark. If you struggle with this, this post is for you. All it takes is a few seconds to drastically improve the look of your iPhone photos and it makes a huge difference if you ever want to print them!
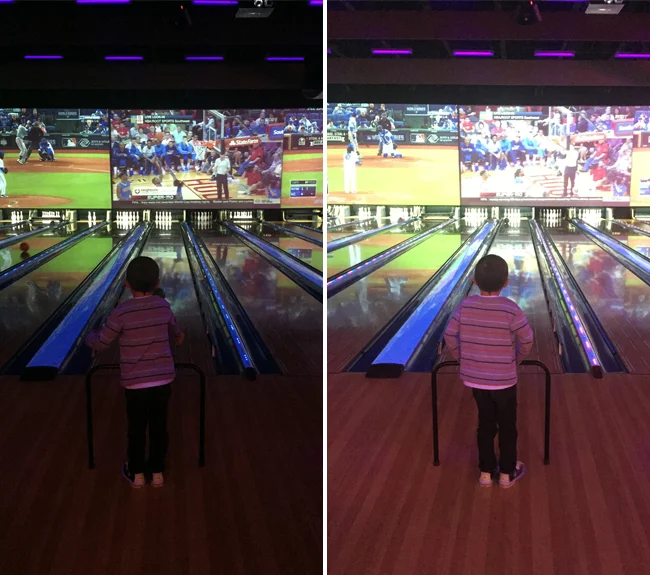
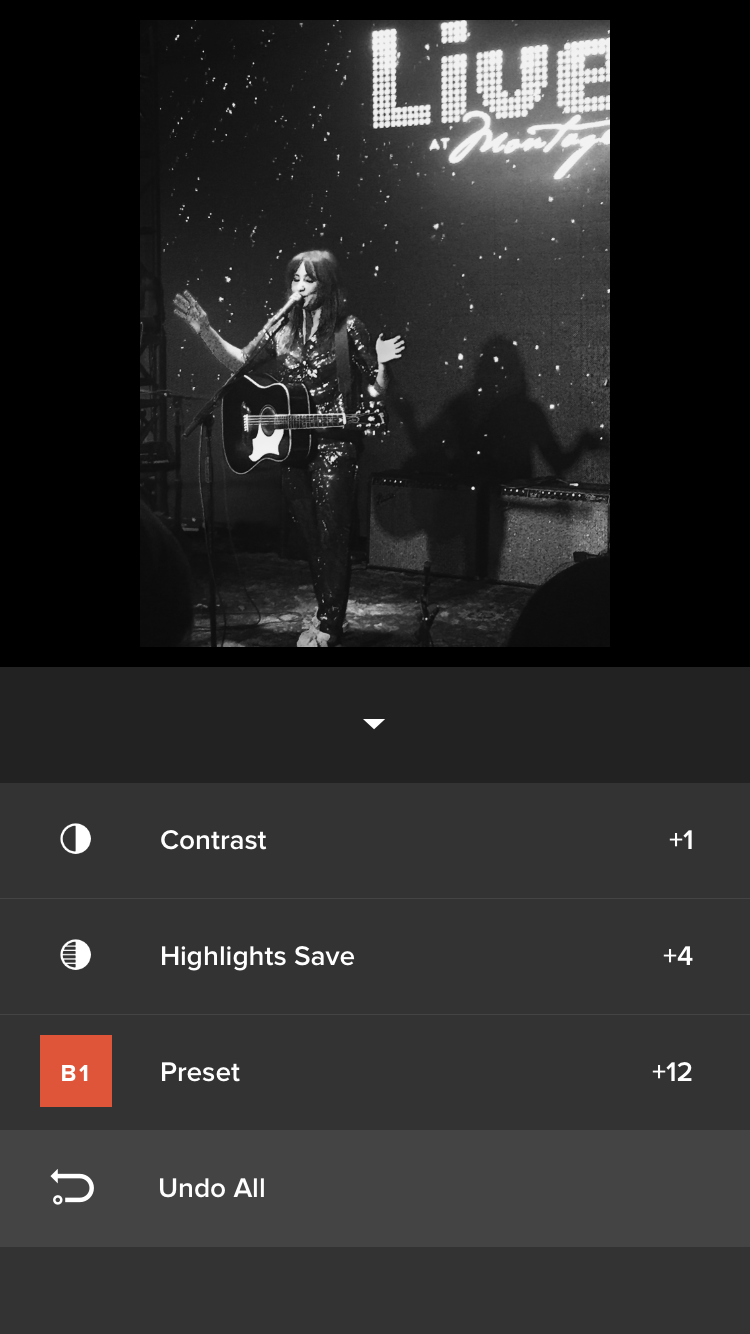
These are the typical edits I usually make, depending on the image:
I increase the exposure to brighten my image.
I also brighten the shadow areas in my image.
I increase my contrast (this can be overdone, I only add a little).
I increase my saturation just a little as well.
Here's my walk through to show you how easy it is!

This is the menu that comes up when you click Edit at the top of your photo. Under Light, I'll find Exposure, Shadows and Contrast. You can also see that Color is listed as the next menu option below the Light menu; this is where you can bump up your Saturation. You can also convert photos to black and white using this menu.

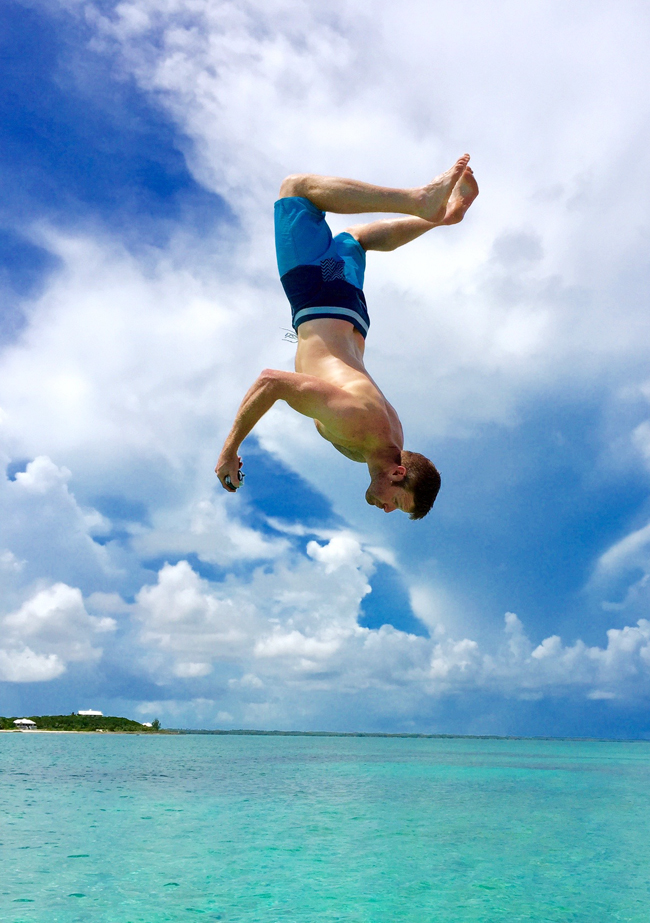
Once in a while, brightening my subject will make my highlights blow out (they are too bright so they are overexposed and lose detail). When I'm using my phone to quickly edit, I'd rather have my main subject and overall exposure to be bright enough so I'm okay letting the bright areas blow out. This image below is an example of that, I lose some detail in the clouds, but the three kids are much brighter. I could also crop the image to a square to eliminate some of the overexposed sky.

Here's a few more examples! Give it a try!


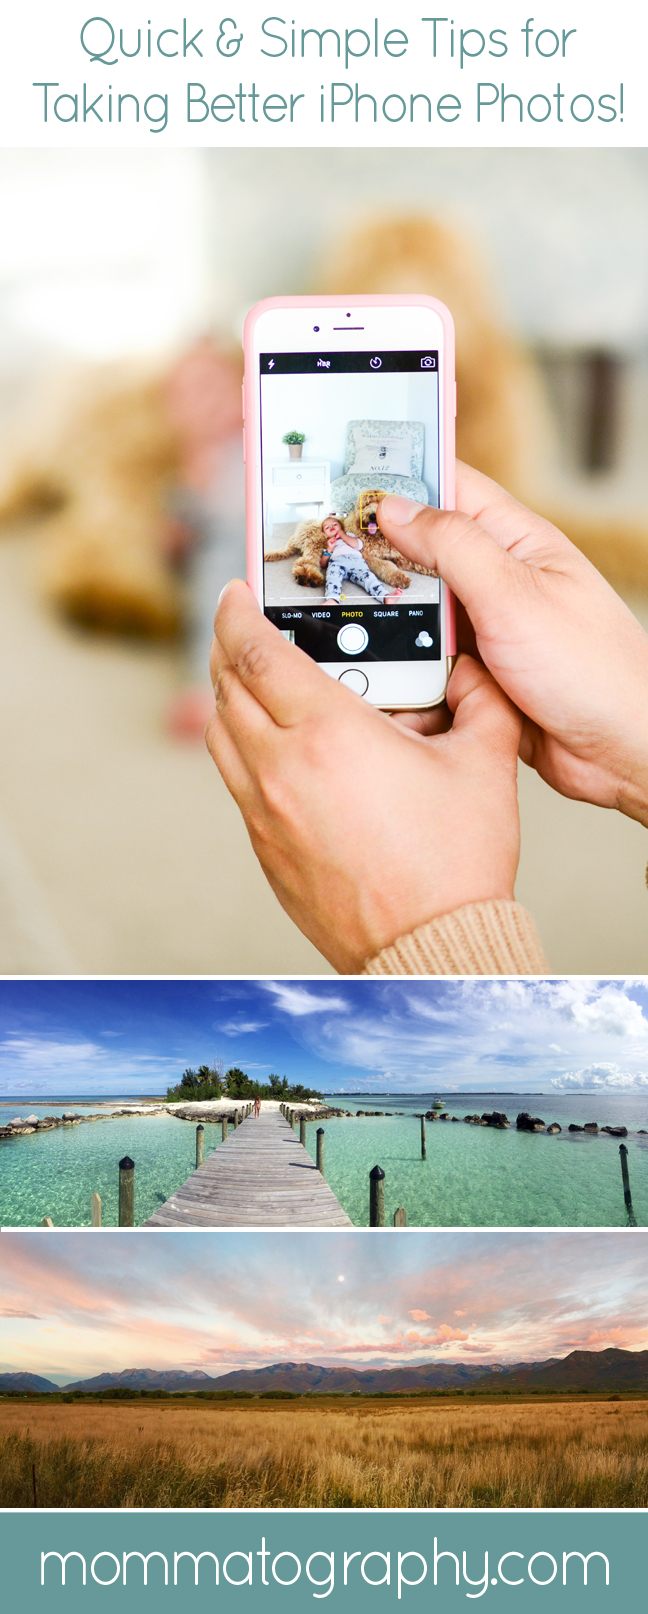
Quick and Simple Tips for Taking Better iPhone Pictures!