better iphone photos

The Easiest Way to Edit Your iPhone Photos!

Today I created quick video tutorial on how to edit your iPhone photos, just using the built-in editing options on your camera! You don't have to download ten different apps just to edit your photos (although there are some good apps for that, which we'll cover another day). Editing can be quick and easy and the difference is SO WORTH IT. I usually edit my favorites right after I take them on my phone and it honestly only takes about 10-20 seconds to get them to look a lot better.

I am also big fan of Chatbooks, a great company that compiles Instagram photos into little books. I make sure my photos are bright enough before I post them to Instagram, or they will print way too dark. If you struggle with this, this post is for you. All it takes is a few seconds to drastically improve the look of your iPhone photos and it makes a huge difference if you ever want to print them!

These are the typical edits I usually make, depending on the image:

  • I increase the exposure to brighten my image.

  • I also brighten the shadow areas in my image.

  • I increase my contrast (this can be overdone, I only add a little).

  • I increase my saturation just a little as well. 

Here's my walk through to show you how easy it is!

This is the menu that comes up when you click Edit at the top of your photo. Under Light, I'll find Exposure, Shadows and Contrast. You can also see that Color is listed as the next menu option below the Light menu; this is where you can bump up your Saturation. You can also convert photos to black and white using this menu. 

Edit Your iphone Photos - www.mommatography.com

Once in a while, brightening my subject will make my highlights blow out (they are too bright so they are overexposed and lose detail). When I'm using my phone to quickly edit, I'd rather have my main subject and overall exposure to be bright enough so I'm okay letting the bright areas blow out. This image below is an example of that, I lose some detail in the clouds, but the three kids are much brighter. I could also crop the image to a square to eliminate some of the overexposed sky. 

How to Edit Your iPhone Photos Easily - www.mommatography.com

Here's a few more examples! Give it a try!

Easiest Way to Edit Your iPhone Photos - www.mommatography.com
The Easiest Way to Edit iPhone Photos - www.mommatography.com
How to Edit Your iPhone Photos Easily - www.mommatography.com
How to Edit Your iPhone Photos in 15 Seconds! - www.mommatography.com
 

Quick and Simple Tips for Taking Better iPhone Pictures!

If you are like me, you'll quickly realize that it is unfortunate that your nice DSLR camera doesn't fit in your pocket. It's probably not on the perfect setting, sitting next to you ready to go when your child decides to stand up and walk for the first time, or takes off on his bike with no training wheels on his first try ALL BY HIMSELF (yes, that really happened). Thank goodness we have pretty sweet phones nowadays that have amazing capabilities and seem to follow us everywhere we go! Here are some quick tips to take better photos with your iPhone.

Great Simple Tips for Better iPhone Photos! www.mommatography.com

8 Simple Tips for Better iPhone Photos

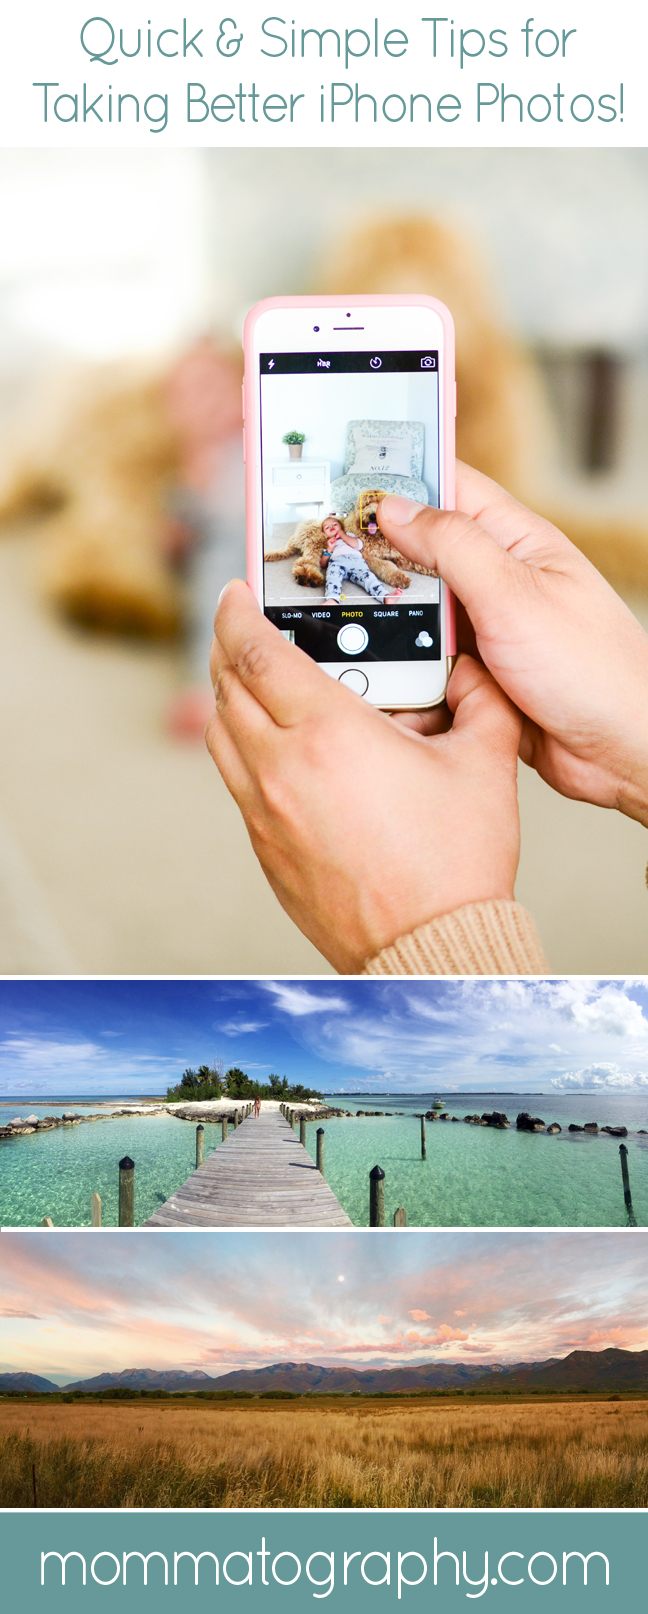
1. This one is a cinch and makes a huge difference. Your phone will automatically focus and expose for your scene as best it can. If you want to tell your phone to focus or expose for a certain area of your image, like a person's face, simply press your finger on that area of the photo (see the image above) and it will refocus and expose for that square area. I use this all the time, especially if my background is bright but I want my subject to be brighter. Notice the difference below.

take better iphone photos

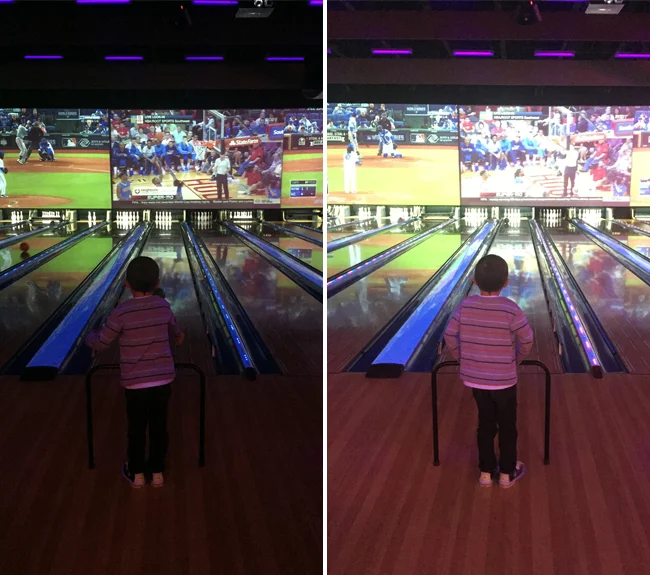
Pretty exciting, right? On the next example, the photo on the left was what my camera calculated as a balanced exposure, but I wanted my subject brighter (even though dark bowling alleys rarely give you great iPhone photos). I simply pressed my finger on my subject and it adjusted the exposure for me. These are both straight from the camera with no edits. The images on the right give me a better starting point for editing. 

Take Better iPhone Pictures

2. You can also lock the focus and exposure for a specific part of your image by HOLDING your finger down until you see AE/AF LOCK appear at the top of your screen in a yellow box. This is helpful if you want to focus or expose for a moving subject, or when there's too much going on in the scene that your camera isn't sure what to lock onto. 

3. HOLD STILL! Think about a tripod; rest your arms on a table or lean against a wall if you need to! If you're moving while shooting, your photo will definitely be blurry. 

4. The volume up button on the side of your phone acts as a shutter. Sometimes it is much easier to press this to take a picture! You can also use the volume + button on your HEADPHONES to take a picture! Pretty cool, right? They act as a shutter release cable, so you can totally eliminate camera shake. 

5. This tip is pretty funny, but I use it all the time. To avoid selfies that don't look so great, or seem to have camera shake from trying to hold your phone AND press a button, flip to the front-facing camera on the screen of your phone and set a 3 second timer. That way, you can press the timer, hold your arm out as far as it goes, and have a few seconds to adjust the angle your shooting at and compose a little better. I see this as a sort of 'live-view' mode on my iPhone, when I'm trying to take a picture of myself and others. It's totally silly, but it helps. By the way, the camera on your screen has a much lower resolution (lower-quality) than the main camera on the back of your phone. Keep that in mind!

This is my favorite example of a bad selfie (is there really such a thing with cute kids though??). We had a good laugh at this. 

selfie

6. Lighting is key to get sharper images on your iPhone. If you try to photograph your kids chasing each other in your dark living room, you might get one or two that work okay, but 90% of them will be blurry. The brighter your scene is, the easier it will be for your camera to snap a clear shot of a moving subject. Wait for the morning sun to shine through, head outside or stay near nice window light. The brighter, the better.

iPhonetips3.jpg

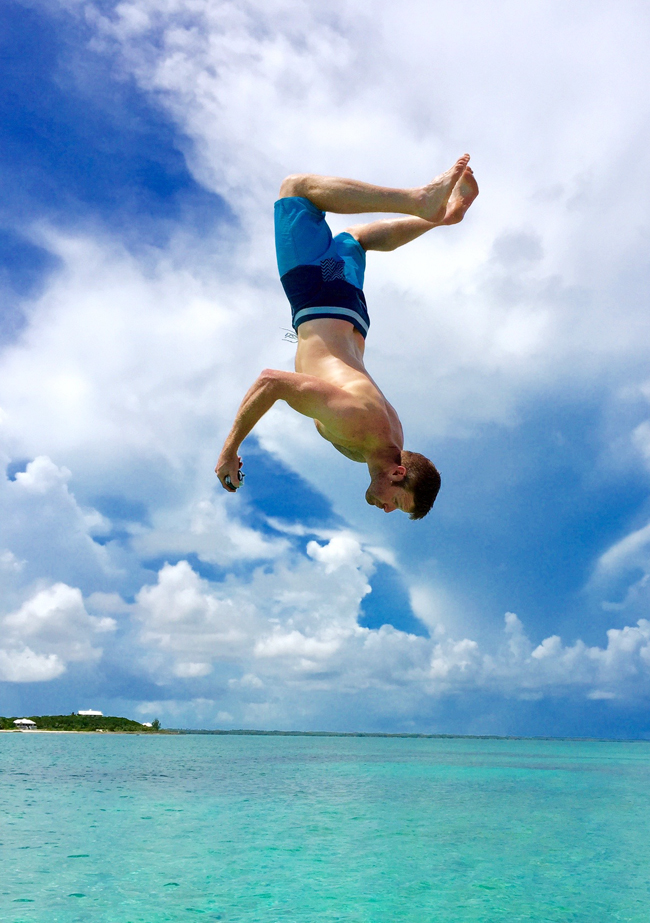
7. Hold your shutter button down for burst mode (iPhones 5s and above)! This is a fun feature that will take photo after photo (10 frames per second) to freeze motion. You can then review the photos and save your favorite one. Don't forget to delete the rest, they will quickly fill up storage space on your phone. I shot this whole sequence in burst mode and picked this as the best one. 

Tips for Taking Better iPhone Photos

Burst mode and shooting panorama photos (iPhone 4s and higher) are newer features and can be really fun. Give it a try. I love shooting panorama landscapes with my iPhone. It's so quick and easy.

iPhone Tips and Panorama Photos
Take Better iPhone Photos!
iPhone Photo Tips and Panorama Photos

8. Your camera has a built in grid that can help you with better composition, or practicing the 'rule-of-thirds' (we'll cover more about this term later). To turn this on go to Settings - Photos & Camera - Grid (slide it to on). It will bring up a grid like this image on the right shows, so you can practice composing your subject along these lines of interest or intersections. 

iPhone Rule of Thirds Grid

Remember that phone cameras over the last three to four years have improved drastically. I am amazed at the quality of the camera on the newest iPhones, compared to even the iPhone 4. Don't stress about having latest and greatest! It just might take a little more strategy to get crisp, clear photos and don't feel bad if you don't own a bigger, nicer camera. Take advantage of how great the camera on your iPhone can be and stay tuned for more iPhone tips and tutorials on mommatography.com! 

 
better iphone photos