Camera Settings

Shutter Speed 101

Now that you have reviewed and understand aperture, it is time to dive into shutter speed. If you missed the aperture post, take a look. It's important to understand because aperture and shutter speed go hand in hand. The shutter on your camera controls the amount of time that light hits your sensor, thus creating an exposure. It's kind of like a curtain. The slower your curtain opens and closes, the more light is let in. The quicker the shutter opens and closes, the less light enters. Your shutter speed not only effects your exposure (making it brighter or darker), it can show movement or freeze motion in a photograph. Shutter speed is measured in fractions of a second (i.e. 1/2  1/4  1/8  1/15  1/30  1/60  1/125  1/250).

Here's a little visual aid to help you understand shutter speed: 

learningshutterspeed

In the image below, we can see that the subjects are blurry. This happens when the shutter speed is slow, using a larger fraction. In this photo, I used 1/20 which made the people blur from movement. 

slow shutter speed

When using a tripod, slow shutter speeds (also called long exposures) can make for great landscapes. In this image, I used a tripod and shot before sunrise using a 30 second shutter speed. This showed the movement of the stars and let in more light from the sun rising, well before the sky was even light. We'll cover more about long exposures another time. 

long exposure

The image below is crisp and sharp, even though it is of a moving subject (riding quite fast in a triathlon, nonetheless). You can freeze or capture motion if you use a fast enough shutter speed, or a smaller fraction such as 1/800. I used 1/250 for this image, with a 50mm lens. 

freeze motion with shutter speed

When dealing with shutter speed, we also need to consider camera shake (blur from your hand holding your camera). A good rule of thumb when trying to avoid camera shake is to use a shutter speed that corresponds with the focal length of your lens. If you have a 200mm lens, you'll want to try and use a shutter speed of 1/250 or higher, to avoid camera shake. If you have a 50mm lens, try to shoot above 1/60. Using a tripod definitely helps to avoid camera shake, but these little tips will help you when a tripod isn't handy, because let's be honest, who wants to haul around a tripod everywhere? 

For a little review, think of this: aperture is the AMOUNT OF LIGHT that is let in your camera. Shutter speed is the AMOUNT OF TIME that the light is being let in! These settings are key to shooting on manual, which is absolutely, totally and completely awesome. You can do it. 


Learning About Exposure

Exposure is the amount of light that creates your image. The main goal of each image you take is to use three key elements correctly to make a good exposure. The three elements are your aperture (f/stop), shutter speed and your ISO. 

  • Aperture (f/stop) - This is the setting that tells you how much light will enter into your camera. This also changes your depth of field.

  • Shutter Speed - This number indicates how quick or slow your shutter opens and closes to let in light. The faster the shutter speed, the sharper your image will be. A slow shutter speed can cause motion to blur, or show camera shake.

  • ISO - is how sensitive your sensor is to light. The lower the ISO number, the sharper your image will look, but you will need a decent amount of light for a good exposure. The higher the ISO number, the more grain/noise you will notice (not as sharp) BUT this will allow you to take images in a darker setting.

learning about exposure

The image on the left is definitely dark; this is called under-exposed. My shutter speed was too fast, and didn't let in enough light. The image on the right is over-exposed. This is when an image is too bright or 'washed out'. The white areas on the cake and the platter start losing detail from the image being too bright. On this image, I had my ISO a little too high and it let it more light than I needed. The middle image is an example of a good exposure!

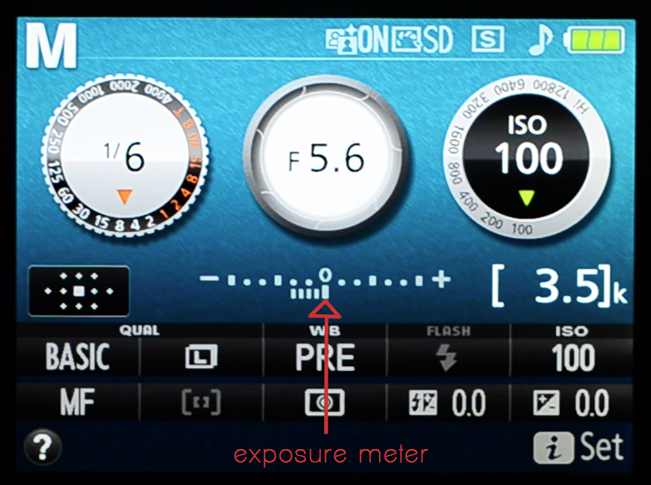
On your camera's display screen and when looking through your viewfinder, you will see your exposure meter (see image below). Your camera will tell you when your settings will get a good exposure when the notches below the meter line up at the 0. When they fall to the left, or towards the (-) mark, that means your photo will be underexposed (too dark) and when they fall towards the (+) mark, your photo will be overexposed (too bright). Depending on your lighting situation, you might want your image a little brighter or darker than what your camera tells you. Use your exposure meter to help guide you as you change your settings!

learning to make a good exposure
 

Aperture Part 1

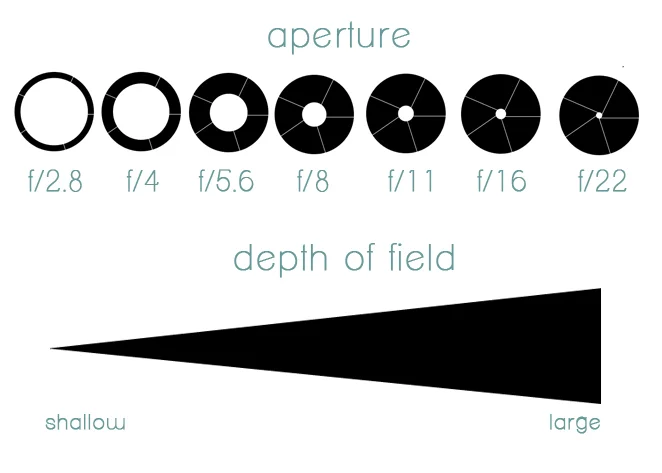
Aperture (also known as your f/stop) describes the actual size of the opening of your lens when a photo is taken. The more open your aperture is, the more light is let in your camera and the brighter your image will be. The lower the f/stop, the wider the opening. The higher your f/stop number is, the smaller the opening will be. It’s easy to remember if you think in terms of opposites:

low number = more light                     high number = less light. 

Aperture Diagram - Understanding Aperture

Aperture also affects your Depth of Field. Depth of Field is how much of your image is blurry or out of focus. The lower your f/stop is, the more blur you’ll have in your background. The higher your f/stop is, the more of your background will be in focus and sharp.

low f/stop = more blur                     high f/stop = less blur

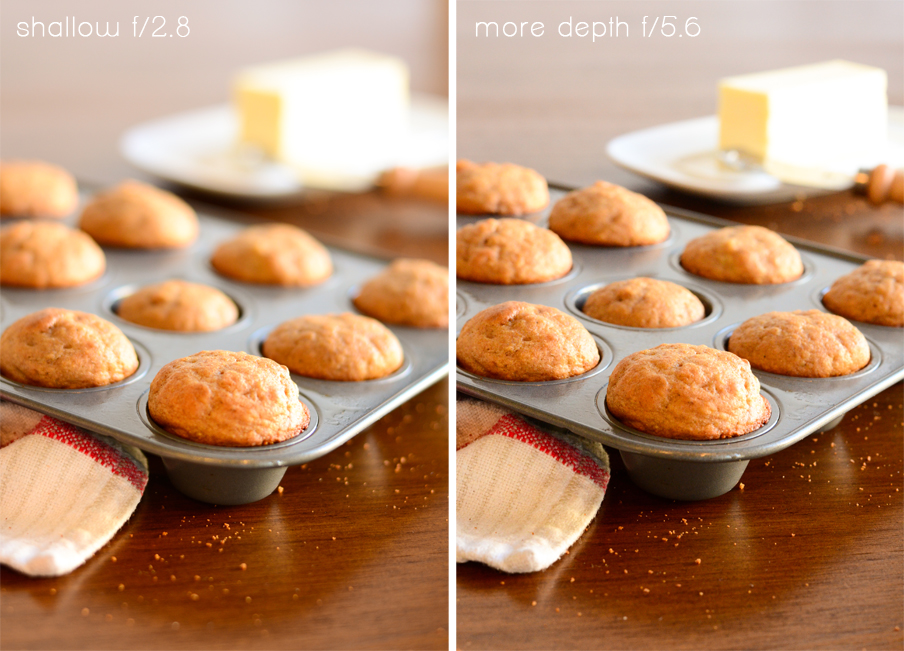
The examples below show that with a smaller f/stop, the more blurry the background will be.

aperture and depth of field

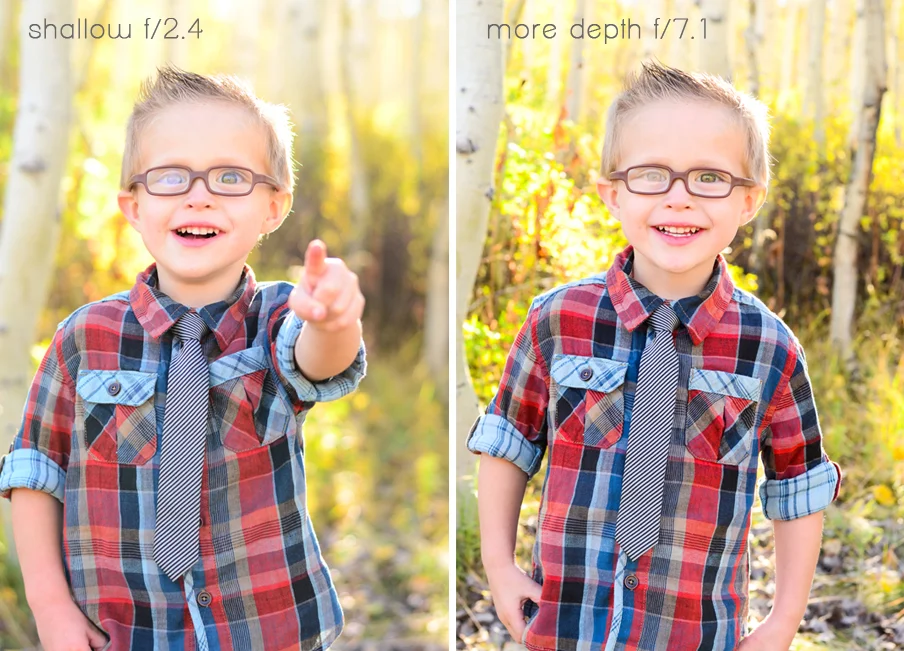
If I am taking a portrait of a child, I prefer to use a shallow depth of field. One, because I love the way it looks, and I like when the focus is completely on their expression or personality, and less about the sometimes distracting background behind them. 

aperture example

It takes some practice to get use to these settings. Just remember, the lower your f/stop = more light & more blur, the higher your f/stop = less light and less blur!! Turn your main mode dial on your camera to the letter A (nikon) or Av (canon) to practice shooting on Aperture Priority. You'll chose the f/stop number and your camera will do the rest for you! This is an easy way to learn aperture and how it changes the look of your photos, without having to try and shoot in full manual mode. 

learningaperture

Camera Settings 101

Raise your hand if you own a Nikon or a Canon DSLR* (Digital Single Lens Reflex, a camera with a removable lens and a reflex mirror)! Now raise your hand if you didn't take the time to read the entire instruction manual. Where's the fun in that? As an introduction to this blog, I put together a simple settings walk-through video for an entry-level Nikon and Canon DSLR. So sit back and enjoy learning the basic settings of your camera. I also include a short description of how some of these settings change the look of your images. 

Unfortunately, all cameras are not created equal, but these videos will help you better understand the settings on your DSLR camera. 

The Nikon D3300


The Canon EOS Rebel T5

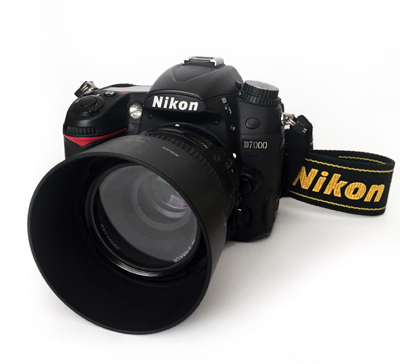
*A DSLR camera looks like this: 

camera settings tutorial