The Easiest Way to Edit Your iPhone Photos!

Today I created quick video tutorial on how to edit your iPhone photos, just using the built-in editing options on your camera! You don't have to download ten different apps just to edit your photos (although there are some good apps for that, which we'll cover another day). Editing can be quick and easy and the difference is SO WORTH IT. I usually edit my favorites right after I take them on my phone and it honestly only takes about 10-20 seconds to get them to look a lot better.

I am also big fan of Chatbooks, a great company that compiles Instagram photos into little books. I make sure my photos are bright enough before I post them to Instagram, or they will print way too dark. If you struggle with this, this post is for you. All it takes is a few seconds to drastically improve the look of your iPhone photos and it makes a huge difference if you ever want to print them!

These are the typical edits I usually make, depending on the image:

  • I increase the exposure to brighten my image.

  • I also brighten the shadow areas in my image.

  • I increase my contrast (this can be overdone, I only add a little).

  • I increase my saturation just a little as well. 

Here's my walk through to show you how easy it is!

This is the menu that comes up when you click Edit at the top of your photo. Under Light, I'll find Exposure, Shadows and Contrast. You can also see that Color is listed as the next menu option below the Light menu; this is where you can bump up your Saturation. You can also convert photos to black and white using this menu. 

Edit Your iphone Photos - www.mommatography.com

Once in a while, brightening my subject will make my highlights blow out (they are too bright so they are overexposed and lose detail). When I'm using my phone to quickly edit, I'd rather have my main subject and overall exposure to be bright enough so I'm okay letting the bright areas blow out. This image below is an example of that, I lose some detail in the clouds, but the three kids are much brighter. I could also crop the image to a square to eliminate some of the overexposed sky. 

How to Edit Your iPhone Photos Easily - www.mommatography.com

Here's a few more examples! Give it a try!

Easiest Way to Edit Your iPhone Photos - www.mommatography.com
The Easiest Way to Edit iPhone Photos - www.mommatography.com
How to Edit Your iPhone Photos Easily - www.mommatography.com
How to Edit Your iPhone Photos in 15 Seconds! - www.mommatography.com
 

New Year Challenge

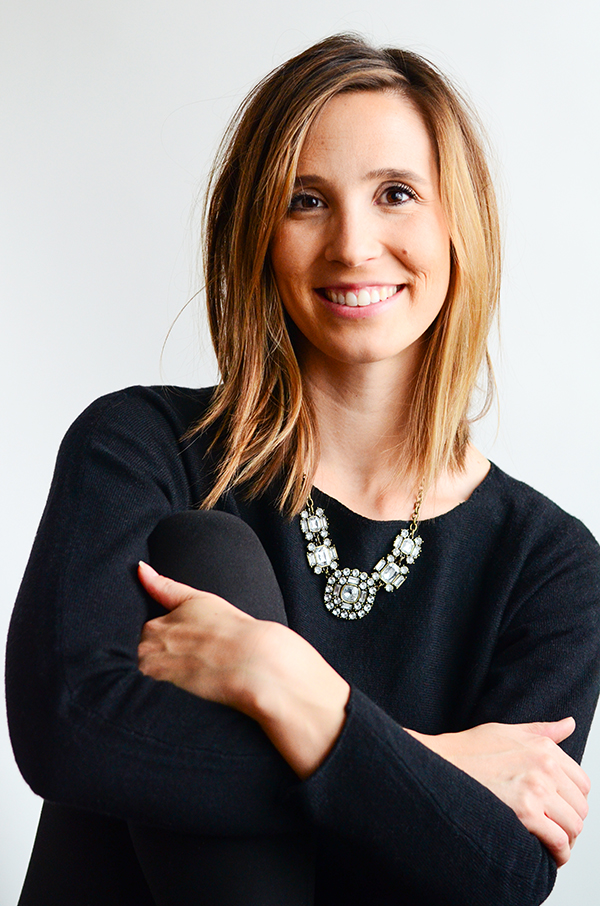
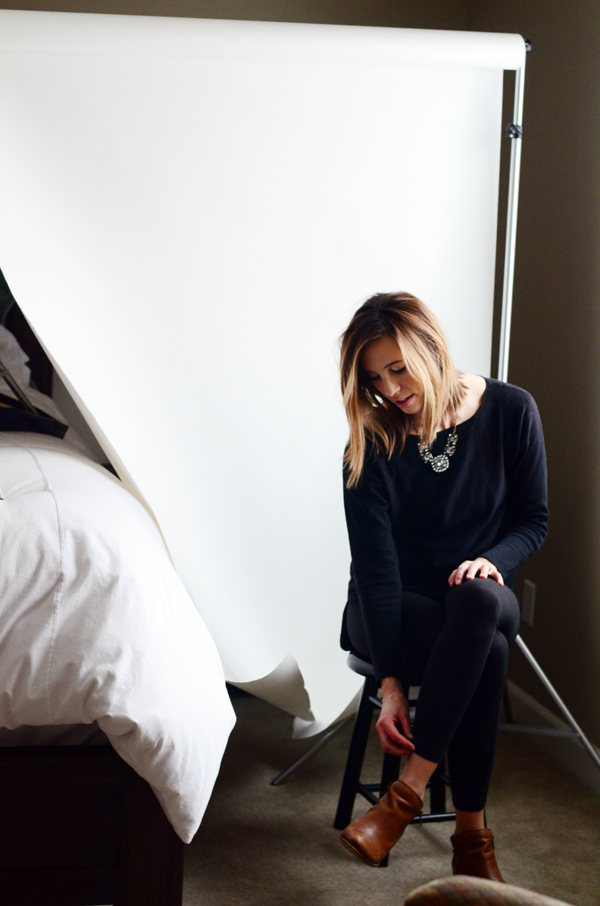
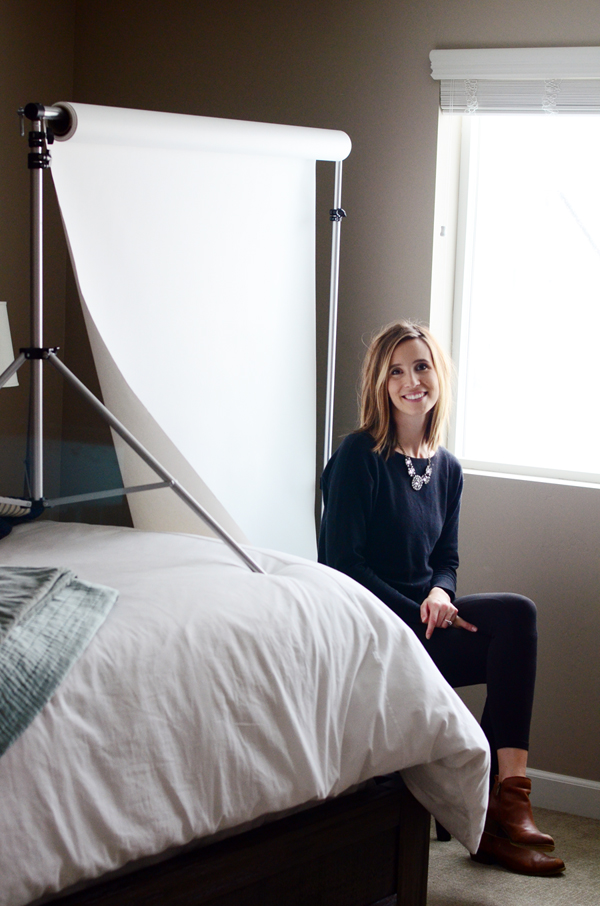
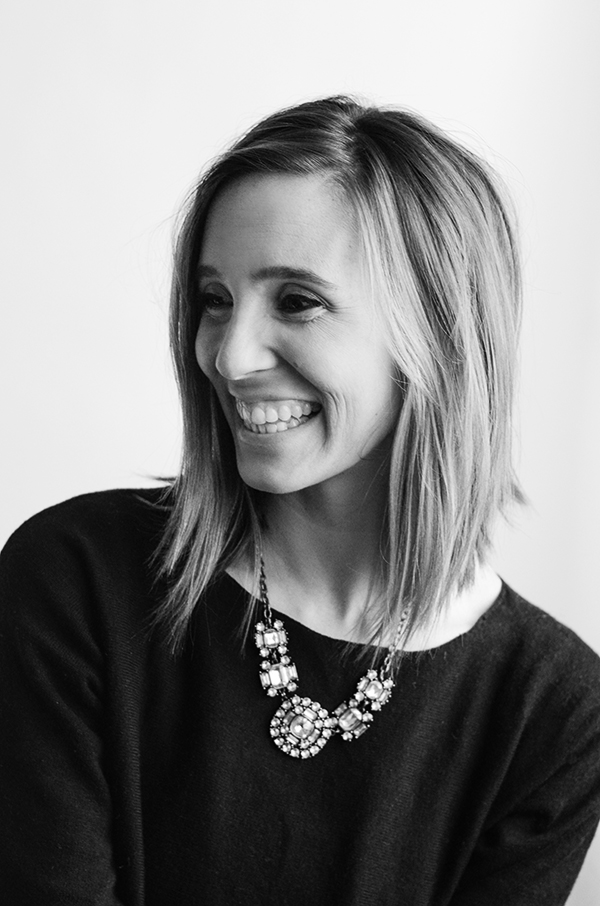
Happy New Year! I can't believe it's 2016. We are only four years shy of 2020, and that is crazy. I figured the timing is great to post a challenge. If you're new or not to this whole photography thing, if you are a mom, a dad, a student, an aspiring artist, a portrait photographer or you just love to take pictures, I want you to start a personal project. This can be simple; don't stress too much about it.

Take a few quiet minutes (who doesn't need more of those??) and think about something you would like to get better at. Your project could be finding a way to shoot ten different photos of one subject- a kid, a toy, food, or even a decoration in your house. This can help you with composition and perspective. You could do a project based on finding great lighting in your house or understanding how your ISO changes the look of your photos. Try taking more candid photos of your kids, or showing their personality in just one or two pictures. Take a great portrait of a relative or friend of yours, or create a photograph or two that convey a certain emotion. Pick one location and shoot images during different times of the day in the same spot. The list can go on and on; find something that sounds fun to you that will help you grow a little closer to your goal of taking better photos.

New Year Challenge - Personal Projects - www.mommatography.com

I tend to get a little restless when I go too long without creating something. When it comes to photography, I like to take some time out of my year to do a few personal projects. This keeps me shooting and that is the key to getting better results. It doesn't have to be intense and time consuming. Just start somewhere. 

You can read up all you want and spend hours looking at the work of other photographers or moms out there; the improvement in your own work shows when you actually pick up your camera and start creating something beautiful. 

New Year Challenge - Personal Projects - www.mommatography.com

I would love to see what projects you come up with! Contact me through my contact page if you are interested in having your project featured on mommatography. 


Quick Tips for Taking Simple Portraits

Alright I'm guilty - I took the week off for Christmas time. My family is spread out all over the United States (including Hawaii) and I took a little break to enjoy them as they were all in town for the holidays. I hope you enjoyed your Christmas as well! I'm lucky to have three beautiful sisters that I get to photograph for different occasions; this sister o' mine wanted to get a few portraits taken while we were together. Some people might think in order to get good head shots, you have to go to a photo studio, have expensive lights or pay a lot of money to go get them done. I am going to show you how we took some simple portraits over the weekend just using window light and a simple backdrop. 

Tips for Great Simple Portraits - www.mommatography.com

For these photos, this was my simple setup.

Simple Portrait Tips with Window Light - www.mommatography.com

I carried my backdrop and stand up to the master bedroom and placed it at about a 45 degree angle to the window. I made sure to ask what her 'good-side' was (the side of her hair she liked better to show in photos; at least 90% of women I photograph prefer one side over the other so I always like to ask... maybe you don't need to ask men ;) and faced that side closest to the window light.

Simple Portrait Setup - www.mommatography.com

I like to have a chair or a stool for my subject to sit on so I can shoot some of them sitting as well as some of them standing. 

Tips for Great Simple Portraits - www.mommatography.com

It was easy getting my sister to relax and laugh to get a genuine smile because she's my best friend. If you try to have a conversation and get to know your subject, rather than focus so much on posing them and fabricating the shot, you'll probably get better results that show their personality and look more natural.  

Tips for Great Simple Portraits Using Window Light - www.mommatography.com
Simple Portrait Tips - www.mommatography.com

Her new baby is every bit as sweet, and then some, so I couldn't resist snapping a few of her as well. I shot all of these images at f/3.2 with my 50mm lens. 

Tips for Great Simple Portraits Using Window Light - www.mommatography.com

If you don't want to spend the money, you can make these even more simple and have an assistant hold up a white sheet behind your subject as a backdrop. If you know you'll use a backdrop in the future, I'd highly recommend buying one! It will make life much easier. Here is a great backdrop support stand that you can find on Amazon for only $34.99. That is hard to beat! It has great reviews. You can also find a roll of seamless white backdrop paper for $37.30. This is about a 4.5 foot wide roll, if you want a much wider backdrop, look into the 107" rolls like this one, they are more expensive but are twice as wide if you need the extra space. You can get both a stand and a backdrop for only $70.00 and start shooting some great portraits. 


Understanding Lens Selection

Now that you have your DSLR, it's time to switch gears and consider lens selection. Before choosing the right lens you need to know a little more about how they work! The first thing to understand is that every lens has a certain focal length(s) which is measured in millimeters (such as 50mm). This focal length, paired with the kind of sensor your camera has, determines how much can fit into a photo. 

Shorter focal lengths or wide angle lenses such as 20mm or 35mm allow you to be close to your subject (they fill most of the frame) and the background seems to be farther away. They also allow you to fit more into your frame.

Longer focal lengths, such as 105mm or 300mm lenses, allow you to stand farther away from your subject (having your subject fill your frame) but the background seems closer than normal. These lenses make a smaller area look larger (the higher the focal length number is, the more zoom you'll have). Let's break it down into the types of lenses there are and why you would want to shoot with these lenses. 

Wide Angle Lenses: The shorter your focal length is, the wider your angle of view will be or the more you'll be able to fit into your image. A wide-angle lens is usually considered anything under 35mm. This is especially useful for landscapes and interiors; trying to fit as much of scene in a photo as you can.

Screen Shot 2015-12-18 at 7.57.26 AM.png

Standard Lenses: Standard lenses (such as 50mm or 85mm) are great for portraits and everyday scenes. A 50mm lens acts similar to the way our eyes see a person or subject; thus being a standard lens (with standard magnification) making our subject look more natural. Most cameras come with a kit lens, such as an 18-55mm lens. 

Understanding How to Choose the Right Lens - www.mommatography.com

Telephoto Lenses: Telephoto lenses don't fit as much in the frame. This allows you to get closer shots of your subject and have a smaller depth of field (easier to get a blurry background). Telephoto lenses can be great when shooting portraits, wildlife and/or sports because they allow you to get close to your subject. 

Understanding How to Choose the Right Lens - www.mommatography.com

When considering a lens, it is important to remember that not all DSLR camera's have the same size of sensor. The lens and the sensor go hand-in-hand so be sure that the lens you buy is compatible with the format of your sensor. Most entry-level DSLR cameras have a smaller or cropped sensor (like an APS-C sensor); when choosing a lens, a standard 50mm lens acts like a 35mm lens on a cropped-sensor camera (the view isn't as wide as it would be if the lens was on a camera with a full-frame sensor).

Here's a list of what companies label their APS-C format SLR lenses:

  • Canon - EF-S

  • Nikon - DX

  • Pentax - DA

  • Sony - DT

  • Sigma - DC

  • Tamron - Di II

  • Tokina - DX

You can use full-frame camera lenses on an cropped-sensor camera, but these APS-C format lenses will not work properly on a camera with a full-frame sensor. Keep this in mind if you plan to upgrade to a full-frame camera body in the future. Each camera has a certain kind of lens mount as well, which means how a lens physically fits onto the camera. You won't be able to mount a Canon lens to a Nikon camera :) 

Lenses are categorized into two categories; fixed or prime lenses and zoom lenses. A fixed lens stays at one focal point (like 50mm) and doesn't have any moving parts. They are smaller, lighter and allow for brighter, sharper images. Since they have no moving parts, the glass provides higher quality images. Fixed lenses are considered 'faster' because they have large apertures (like f2.8) which let in more light. Zoom lenses (such as 18-55mm) allow you to move from one focal length to another. These can be convenient but you'll give a little of the quality when choosing a zoom lens. They just aren't quite as sharp as fixed lenses.

Consider your subject matter and what you spend the majority of your time photographing. This will determine the kind of lens you want to invest in. If you shoot sports, wildlife or street-style photographs, a zoom or telephoto lens would be a great choice for you. If you want great portraits, investing in prime lenses is the direction to go. If you want an all-around lens to travel with that will give you a good range, something like an 18-200mm lens would be nice to have. Cameras are excellent these days, the real difference is made when you pair your DSLR with a great lens. They can be expensive but the investment is worth it to get great images. We'll cover more about recommended lenses soon!  


Top Five Point and Shoot Cameras Under $500

Christmas is right around the corner! Here is another great gift guide with my round-up of the top five point and shoot cameras under $500.00! If you're looking for a step up from your camera phone, but still want something compact and easy to travel with or fit in your pocket, check out these sweet little cameras. 

1. Sony DSC-RX100/B - $398.00 (amazon)

Best compact point and shoot cameras under $500 - www.mommatography.com
  • 20.9 Megapixel 1"-type Exmor CMOS sensor

  • 28-100mm eauivalent F/1.8-4.9 lens

  • Up to 10 frames per second

  • ISO 125-6400 + expandable

  • 3" LCD screen 

  • 1080p video

This camera is stunning. There are newer versions, but they cost much more and this quality at this price is hard to beat! It has excellent image quality due to its large sensor, with a fast auto-focus and an awesome f1.8 Carl Zeiss lens with 3.6x zoom. This lens is sharp! The body is ultra-slim and sleek. When it was first released, some said it was "...the most appealing pocket-sized digital camera yet" and it was "a monumental achievement in the technology" (for point and shoot cameras). 

2. Sony Alpha a6000 - $548.00 (amazon)

Best compact point and shoot cameras under $500 - www.mommatography.com
  • 24 Megapixel APS-C CMOS sensor

  • ISO 100-25600

  • Hybrid AF with 179-point cocal plane phase-detection 

  • Up to 11 frames per second continuous shooting

  • 3-inch tilting LCD with 921,000 dots

  • OLED electronic viewfinder

  • Built-in Wi-Fi and NFC (wireless sharing)

OKAY this one is JUST over $500, but it might be work the extra $50!! This is an amazing mirrorless camera that has an amazing sensor (same as most entry-level DSLRs), offers manual modes, has a great autofocus, allows you to shoot in a RAW format, shoots HD video and has wi-fi sharing. My sister has this camera and she has been really impressed with it, and loves it. It's a high-quality, high-class camera and it even comes in white! You also have the option to interchange lenses

3. Canon Powershot SX710 HS - $279.00 (amazon)

Best compact point and shoot cameras under $500 - www.mommatography.com
  • Built-in Wifi connectivity, wireless transfer of images and video to compatible mobile devices

  • 20.3 Megapixel high-sensitivity CMOS sensor with DIGIC 6 Processor

  • 30x optical zoom (25-750mm)

  • Large 3-inch LCD with wide viewing angle

  • Stunning 1080p HD video with a dedicated movie button

This well-designed, well-built canon boasts an incredible zoom lens, image-stabilization, noise-reduction and the ability to share photos to social media and mobile devices. It performs well in low-lit settings and has a quick focus. You also have full control of your exposure (manual mode). The flash isn't annoying and only pops up if you push the button and tell it to. The quality and zoom this canon has at this price makes it a great buy!

4. Nikon Coolpix S9900 - $272.95 (amazon)

Best compact point and shoot cameras under $500 - www.mommatography.com
  • 30x optical zoom telephoto lens with vibration reduction

  • 60x with Dynamic Fine Zoom and enhanced digital zoom

  • Swiveling vari-angle display

  • 3.0-inch 921,000-dot LCD screen

  • Wi-Fi and NFC sharing

This 16 Megapixel camera has great quality and detail and packs a pretty great zoom lens, with vibration reduction. It also allows automatic and manual controls for honing creative skills. The video has a time-lapse option, which is also fun. Some complain about poor photos in low-light; if you have the patience to try the manual shooting modes this can be avoided. If you want to leave it on full-auto mode, you might not love the results in lower-lit settings. People love the design and build of the camera, the swivel LCD screen and the great zoom.

4. Olympus TG-4 - $349 (amazon)

Best Compact Point and Shoot Waterproof Camera - www.mommatography.com
  • 4X wide-angle optical zoom with fast f2.0 high speed lens

  • Waterproof to depths of 50 feet, freeze proof to 14 degrees F, shockproof to 7 feet, crushproof to 220 lbs. 

  • RAW capture, Underwater HDR & Modes

  • Wi-Fi / GPS / e. Compass

  • 1080P HD Video

This tough camera is basically disaster proof and still takes sharp and bold photos! You can drop it from 7 feet, take it in cold-weather climates and completely under water for great images. If you're looking for an adventure and a great camera to carry along with you, this is one of the greatest rugged cameras out there AND it still fits in your pocket!

Images Courtesy of Amazon.com.