6 Tips for Shooting Fun Portraits in the Snow
We have had some amazing snow falling in Utah this winter (they don't call it the greatest snow on earth for nothing) and we are loving it. For those of you who get the chance to play in all this white stuff - try taking some fun photos in the snow! I've got a few tips for shooting portraits in the snow. Snow can make things tricky sometimes. Here are a few pointers to ensure you make the most of your photos outside in the winter.
SIX TIPS FOR TAKING PORTRAITS IN THE SNOW
1. TAKE YOUR CAMERA OFF AUTO! This is one of my MAIN goals for you, a major point of my whole blog - to get you exploring different camera settings and becoming familiar with shooting manual. Just take a glance at the two photos below. Can you guess which one was taken on Auto??
Not this one.
This one was shot on Auto!
Look how murky it is! The brightness of snow can be overwhelming to your camera and the light meter inside it, resulting in images that are way too dark when shooting on Auto. Be brave, switch it to manual, keep an eye on your light meter and pick your own exposure. Your images will be ten times better if you practice shooting on Manual Mode.
2. Slightly overexpose your image. Snow will look cleaner and brighter if you shoot a little brighter than what your camera tells you is the right exposure. Don't go too far to where you completely blow out the snow or lose all detail in the white areas of your image. This can be tricky, especially if the light is changing due to partly cloudy skies.
I made that mistake in this photo below - the sun peeked through the clouds a little and it made my exposure brighter than I wanted it to be.
This leads to my next tip!
3. Shoot in RAW format. If you are questioning your ability to make a good exposure, and don't want to risk anything, turn your camera file setting to shoot in RAW, or RAW + JPEG. This will give you the file that has all the information you need to bring back detail in your snow, just in case you do lose details in your crazy bright snowy scene. If you have editing software such as Photoshop, you can tone those areas down when you edit your photos.
4. Use your HISTOGRAM. Most digital cameras and for sure DSLR cameras have a histogram. On the back of your camera when you preview your image using your playback menu, you can find and read a histogram for each of your images (check your instruction manual on how to display your histogram). On my Nikon, I simply press my up and down arrows. This is graph/chart that will SHOW YOU your where your shadows or dark areas, mid-tones and highlights or bright areas are. In the image below you can see my histogram (red highlighted area) and see that my values are spread pretty even across the histogram (the peak favors the right side because it's a bright image).
If there is a gap on the left side of your chart, it means you are losing some detail in your highlights. See the image below.
Let this work as a guide to see what is happening with your exposure. I will give a more detailed post about histograms soon.
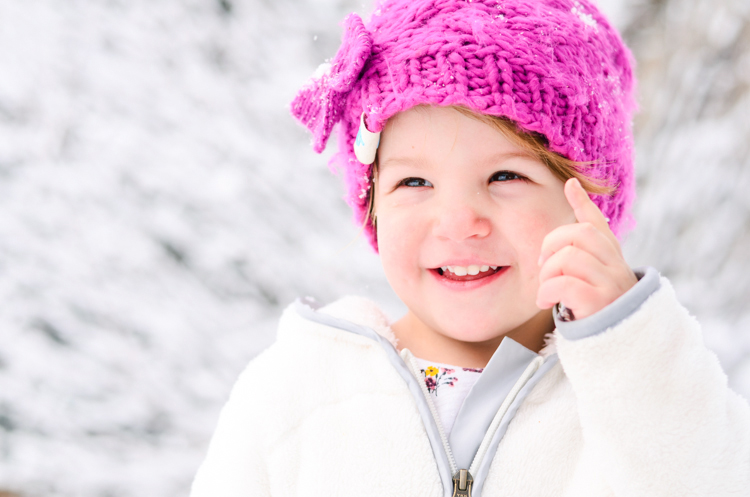
5. Try using a shallow depth of field. I love shooting with a lower Aperture number (f/stop) to get the snowflakes to show around my subject. I shot these at f/2.8 and f/3.2 to get that effect. I also made sure that my shutter speed was at least 1/250th of a second to freeze motion. These girls are constantly wiggling, jumping and laughing when they get out in the snow. To get crisp images and freeze motion, the faster the shutter speed the better. I shot these ones at 1/640th of a second.
6. Try something fun, like shooting out of focus and see what happens. I just so happened to focus on the snow falling instead of her face and ended up loving the result (image below on the left). If you're photographing kids, don't tell them to say cheese. Just let them play and explore and you'll get some great moments. For more tips about photographing kids, read my article here.
Next time it snows, take your camera outside and try shooting some fun photos!
Quick Tips for Taking Simple Portraits
Alright I'm guilty - I took the week off for Christmas time. My family is spread out all over the United States (including Hawaii) and I took a little break to enjoy them as they were all in town for the holidays. I hope you enjoyed your Christmas as well! I'm lucky to have three beautiful sisters that I get to photograph for different occasions; this sister o' mine wanted to get a few portraits taken while we were together. Some people might think in order to get good head shots, you have to go to a photo studio, have expensive lights or pay a lot of money to go get them done. I am going to show you how we took some simple portraits over the weekend just using window light and a simple backdrop.
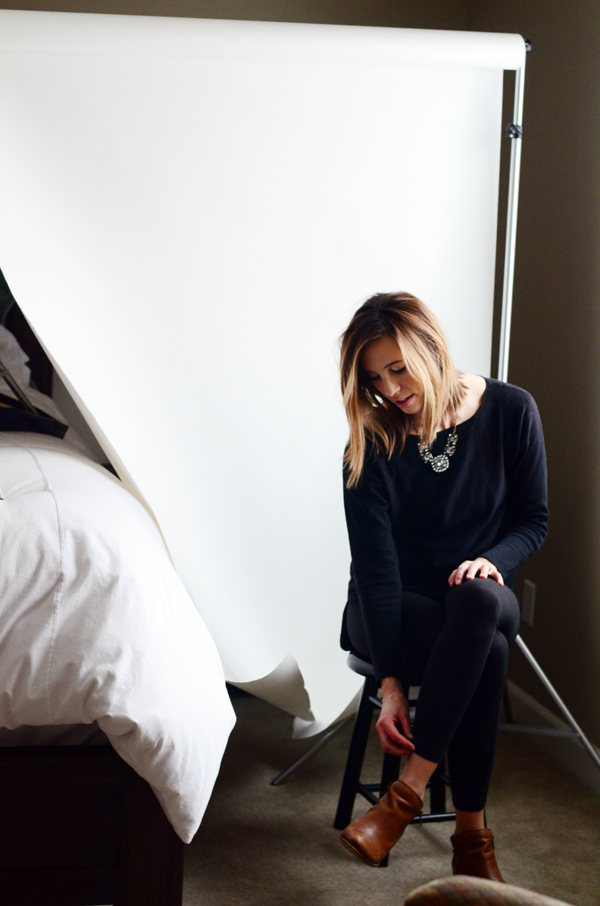
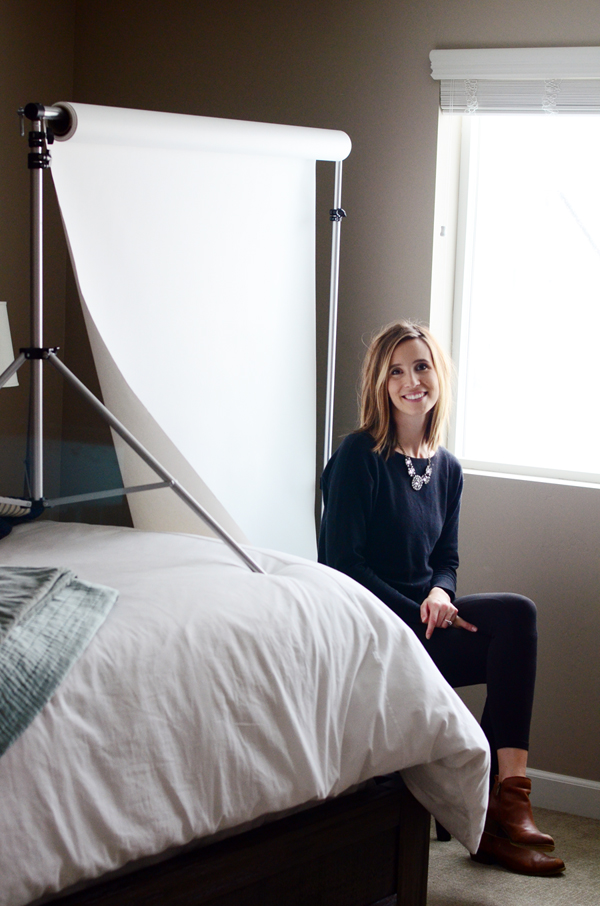
For these photos, this was my simple setup.
I carried my backdrop and stand up to the master bedroom and placed it at about a 45 degree angle to the window. I made sure to ask what her 'good-side' was (the side of her hair she liked better to show in photos; at least 90% of women I photograph prefer one side over the other so I always like to ask... maybe you don't need to ask men ;) and faced that side closest to the window light.
I like to have a chair or a stool for my subject to sit on so I can shoot some of them sitting as well as some of them standing.
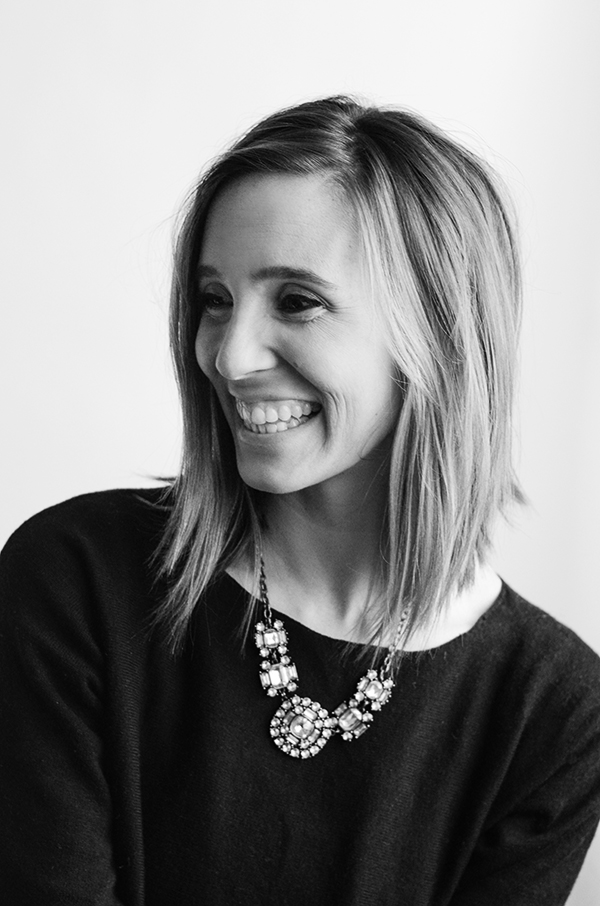
It was easy getting my sister to relax and laugh to get a genuine smile because she's my best friend. If you try to have a conversation and get to know your subject, rather than focus so much on posing them and fabricating the shot, you'll probably get better results that show their personality and look more natural.
Her new baby is every bit as sweet, and then some, so I couldn't resist snapping a few of her as well. I shot all of these images at f/3.2 with my 50mm lens.
If you don't want to spend the money, you can make these even more simple and have an assistant hold up a white sheet behind your subject as a backdrop. If you know you'll use a backdrop in the future, I'd highly recommend buying one! It will make life much easier. Here is a great backdrop support stand that you can find on Amazon for only $34.99. That is hard to beat! It has great reviews. You can also find a roll of seamless white backdrop paper for $37.30. This is about a 4.5 foot wide roll, if you want a much wider backdrop, look into the 107" rolls like this one, they are more expensive but are twice as wide if you need the extra space. You can get both a stand and a backdrop for only $70.00 and start shooting some great portraits.
Tips for Taking Great Photos of Kids
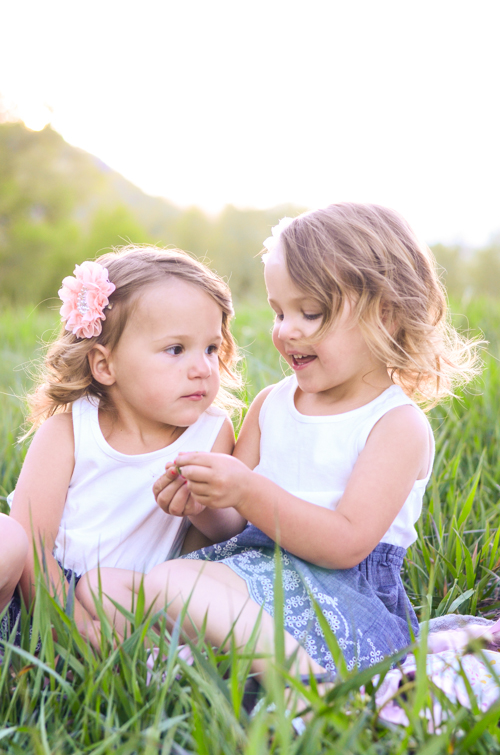
Kids are one of my most favorite subjects to photograph. They are energetic, happy, hilarious and they don't care what anybody thinks. BUT, every once in a while, those adorable, joyful, carefree kids get tired, hungry, bothered, bored, mad, sad or frustrated. Any one or combination of those can turn a hopeful photo shoot into a no good, very bad day for both the child and the parents. If you are prepared ahead of time, you can capture great candid shots of kids with shining with their best smiles.
These are my seven tips for getting great photos of kids:
Don't let the kids feel pressure of having to smile and behave their absolute best, or else. Everyone wants perfect photos of their kids, which usually leads to enormous amounts of stress. Be cool and calm and make it a fun experience; make it an adventure, and not a threat.
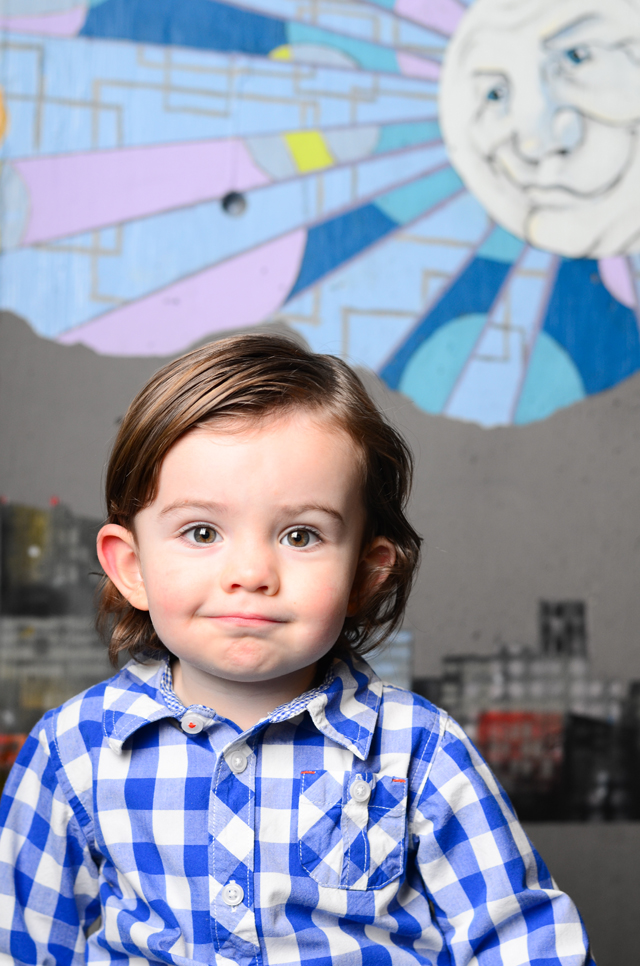
Get on their level. When I start a session with kids I always find ways to relate to them and find out what they are all about- favorite movies, characters, toys, treats, music or anything that puts me on their side and not another adult making them do something they might not be that excited about. It's okay to let them bring a favorite toy. When you get them talking about things that make them happy, you're bound to have a few genuine smiles. Become their friend!
Get them laughing. When parents tell kids to smile for the camera or say cheese, they quickly remember why they don't want to be there. I love having a sibling or parent behind my camera making funny faces or telling inside jokes to get them laughing! Families know how to make each other laugh even if one of them is grumpy. If I'm the only one working for a smile, I have no shame in being silly to get someone to smile.
Bring assistants to help you out. By this I mean TREATS. I always carry a pack of Skittles or M&Ms for a quick reward- especially for those that might be too young to reason with. If the water works and tantrums have started, they usually will at least sit still and savor a small treat for a few happy seconds. A toddler chewing is better than a toddler screaming 😂. I also bring bubbles (what kid doesn't love them) and if I know a baby will be there, some kind of toy that makes noise to get them to look up at the camera. This can be a huge help!
Try not to force it. If they aren't happy or cooperating just take a break and let them play! I'll have them explore the location and get their mind off of photos. I get the best candid shots when kids are in their element; exploring, running, playing and laughing. Mix things up and get them moving, let them be themselves.
Give the parents a heads up before the shoot to make sure their little ones are fed and well-rested. Even the happiest of kids fall apart if they are being told to sit up and smile at a stranger when it's well past nap time. My photo shoots of families that have young kids go much better if they are in the morning or after nap time.
Kids can easily sense tension. If a parent (or better yet both) is stressing out, help them relax and have them let you take the reins. Bring the fun back to the shoot, let the kids be themselves and just have a good time.


