Food Photography Tips

Feature Friday - Tastes Better From Scratch

Hey readers! I'm Lauren, the recipe creator and photographer behind the food blog Tastes Better From Scratch. I'm also  proud to say I'm Alise's sister-in-law, and I'm excited she is letting me take over her amazing blog today!

I've always loved sharing and creating recipes with real ingredients, which led to the start of my blog. I am obviously a true believer that everything Tastes Better From Scratch!  And not only does it taste better, it’s usually better for you, and less expensive!  My blog is all about sharing easy, homemade meal ideas and recipes that the whole family will love!

Q: How do you balance preparing food for your family AND photographing food for your blog? What advice do you have for making this a smooth process?

I usually try and prepare dinner as much ahead of time as I can. If I can make it in the morning, that is ideal. That way I can take some simple photos of the food using good natural window light, and it makes my evening much less stressful when dinner is nearly ready! If I'm not able to prepare the entire meal ahead of time, I do what I can to make dinner go smoothly, like chopping vegetables and making sauces or dressings ahead of time. I am a planner when it comes to meals--that's what inspired the Weekly Meal Plans I share with my readers that include a free printable shopping list. The more organized you are, the more time you have to spend with your family!

Lauren's Food Photography Tips:

  • Know your camera settings: The biggest challenge for me when I first started my blog was making my food look good, through photography. I had an SLR camera but had no idea what I was doing. Lucky for me I've always had Alise around to give me tips and tricks to improve my photos. Several years ago she drew a little photography cheat sheet for me that has been a complete lifesaver and I was so excited to see her share the printable version of it here on her blog. 

  • Good Lighting: Whether you have a professional camera or just use the camera on your phone, I would argue that good lighting is the most important element in taking good photos. Try to find good natural lighting streaming in through windows in your house. And keep in mind that the best lighting may not be in your kitchen or even in your living room.

  • Food Styling: My food photography style is pretty simple. I don't use a lot of props and most of my photos are close-ups of nothing but the food on the plate. Food Styling is something I've had to learn with practice. I try to think ahead about what my end dish will look like and what simple ingredients from the dish I could use as garnish to add a pop of color or an element of interest.  


Feature Friday - Food Photography & Styling Tips from The Gathering Table

The first Friday of every month will be Feature Friday. Mommatography will showcase photographers, artists, and fellow bloggers to share their unique talents and skills. This week's post comes from a friend and food photographer Sheena Bates. Check out her blog and follow The Gathering Table. If you are a food blogger, or want to improve your food photography, today's post is full of great styling and composition tips. 


Hi! I’m Sheena Bates from The Gathering Table. I’m super excited to be here and share some tips on food photography. Just to give you a little background on myself, I’m originally from Utah and attended Utah Valley University  where I got my BFA in photography. That is where I discovered food photography and how much I love it. I now live in London with my husband and two year old son. My husband is a photographer as well. I’ve done a few commercial shoots for various restaurants and catering companies both in Utah and in London. I started the Gathering Table when I was in school and have been on and off with blogging till now, when I’ve decided to really get into it. I love that it allows me to follow my passion, while still being at home with my son.

Food photography is awesome! In my humble opinion, it is truly the best genre of photography, because it’s something that we can all relate to. After all, we all eat, right? And who doesn’t have a memory that is tied so closely with food, that seeing a lovely, composed shot of something delicious will take you right back? That is why I love shooting food. That and you don’t have to try to coax little ones to smile naturally. 

Food Photography Styling Tips - Sheena Bates - The Gathering Table

On to the good stuff! Let’s talk styling. There is no one way to style a dish. I typically like to think about what it is that I’m styling. What images come to mind when I think of that food. Let’s take soup for example: soup is (usually) warm; something you have at home, a comfort food. So I may go more rustic with my styling, playing with warm tones, worn or as I like to think of it, loved props. Fish, on the other hand, has to be fresh, can be warm or cold, and typically has a lighter, lower calorie connotation. So I would use lots of greens in my styling, fresh herbs and go for a lighter, airier look. The styling and the lighting of your image is really what will create the mood for your food photos. 

After deciding upon my mood, I gather props. Here you can go very busy, or simple. Like Alise mentioned in the intro post to food photography, charity shops (thrift stores) are a great place to look for props. Scraps of fabric, napkins, ingredients that are in the dish, and other dishes such as glasses, utensils all make great props to style your photo.

Food Photography Styling Tips - Sheena Bates - The Gathering Table

 [rice and beans: iso 800 f/3.5 1/100 sec] [couscous with lamb and peas: iso 800 f/2.8  1/500 sec]

For the rice and beans photo I included a lot of props (there were more on the other side of the dish). To tell more of a story, you can use the ingredients that are in the dish to help style your photo. It is also helpful to use a pan or pot that the dish may have been cooked in (I usually don’t use the actually pot or pan that it was cooked in, but will transfer it to a clean one, so there aren’t any spills—unless that looks add to the look and story I’m going for—see what I mean about no one way to style?). The image on the right, the couscous, lamb and peas, has a much more simple approach. There are really only three things in the photo: the napkin, the dish and the water. It still works though because of the garnishes: the yoghurt and the herbs. Can you imagine if it was just couscous and lamb? Wouldn’t look very appetizing! 

I love to try to tell a story when I style. I think about what would really be on the table or counter if someone were making the dish. Another way to do this would be shooting the different steps in recipe, but in an artful way.  

Food Photography Styling Tips - Sheena Bates - The Gathering Table

[thumbprint cookies: iso 800 35 mm f 4.5 1/640 sec] [chocolate cookies: iso 1600 50 mm f/3.5 1/125 sec]

The image on the left, the thumbprint cookies, tells a story about packaging food gifts for neighbors at Christmas time. Of course, no one would have a scene exactly like this, but it tells the story. The chocolate cookies, on right, tells about the baking process, while showing the final result. 

Food Photography Styling Tips - Sheena Bates - The Gathering Table

[rolling dough: iso 400 50 mm f/2.2 1/500] [cutting dough, left: iso 400 50 mm f/2.2 1/250] [cutting dough, right: iso 400 50 mm f/2.2 1/250]

These set of images show the process of rolling out the cookie dough and cutting it out, but it’s not your typical step by step photo. Think outside the box a little. 

Let’s talk composition. Don’t be afraid to cut off part of the dish. There is no rule that you have to include the whole thing. Think about the rule of thirds, but don’t feel married to it. It’s helpful when shooting to try many different angles. Get overhead, get it at 45º, and everything in between. 

Food Photography Styling Tips - Sheena Bates - The Gathering Table

This diptych is the exact same setting. Nothing has moved but the camera (the lens changed too). But they’re very different! And you can see, the one on the right I cut part of the bowl of soup off, while the left has most of the scene. 

Food Photography Styling Tips - Sheena Bates - The Gathering Table

[veg soup left: iso 800 50 mm f/2.8 1/100 sec] [veg soup right: iso 800 50 mm f/2.8 1/100 sec]

These images of the vegetable soup show just how different an image can look because of your angle. The one on the left, you catch the reflection at the lower angle, while the one on the right you catch the beautiful colours of the soup. That reflection can give your image a completely different feel. 

Another fun way to compose your images is to play with line. This can make for incredibly simple styled images, but that are still very interesting and catching. 

Food Photography Styling Tips - Sheena Bates - The Gathering Table

[clementines: iso 200 50 mm f/2.8 1/125 sec]

This shot of the clementines plays with diagonal line. There is actually very little going on in the photo. Because of the dynamic diagonal line created by the placement of the fruit, it works and it interesting.

using line 2.jpg

[muffin ingredients: iso 1600 24mm f/4.0 1/100 sec]

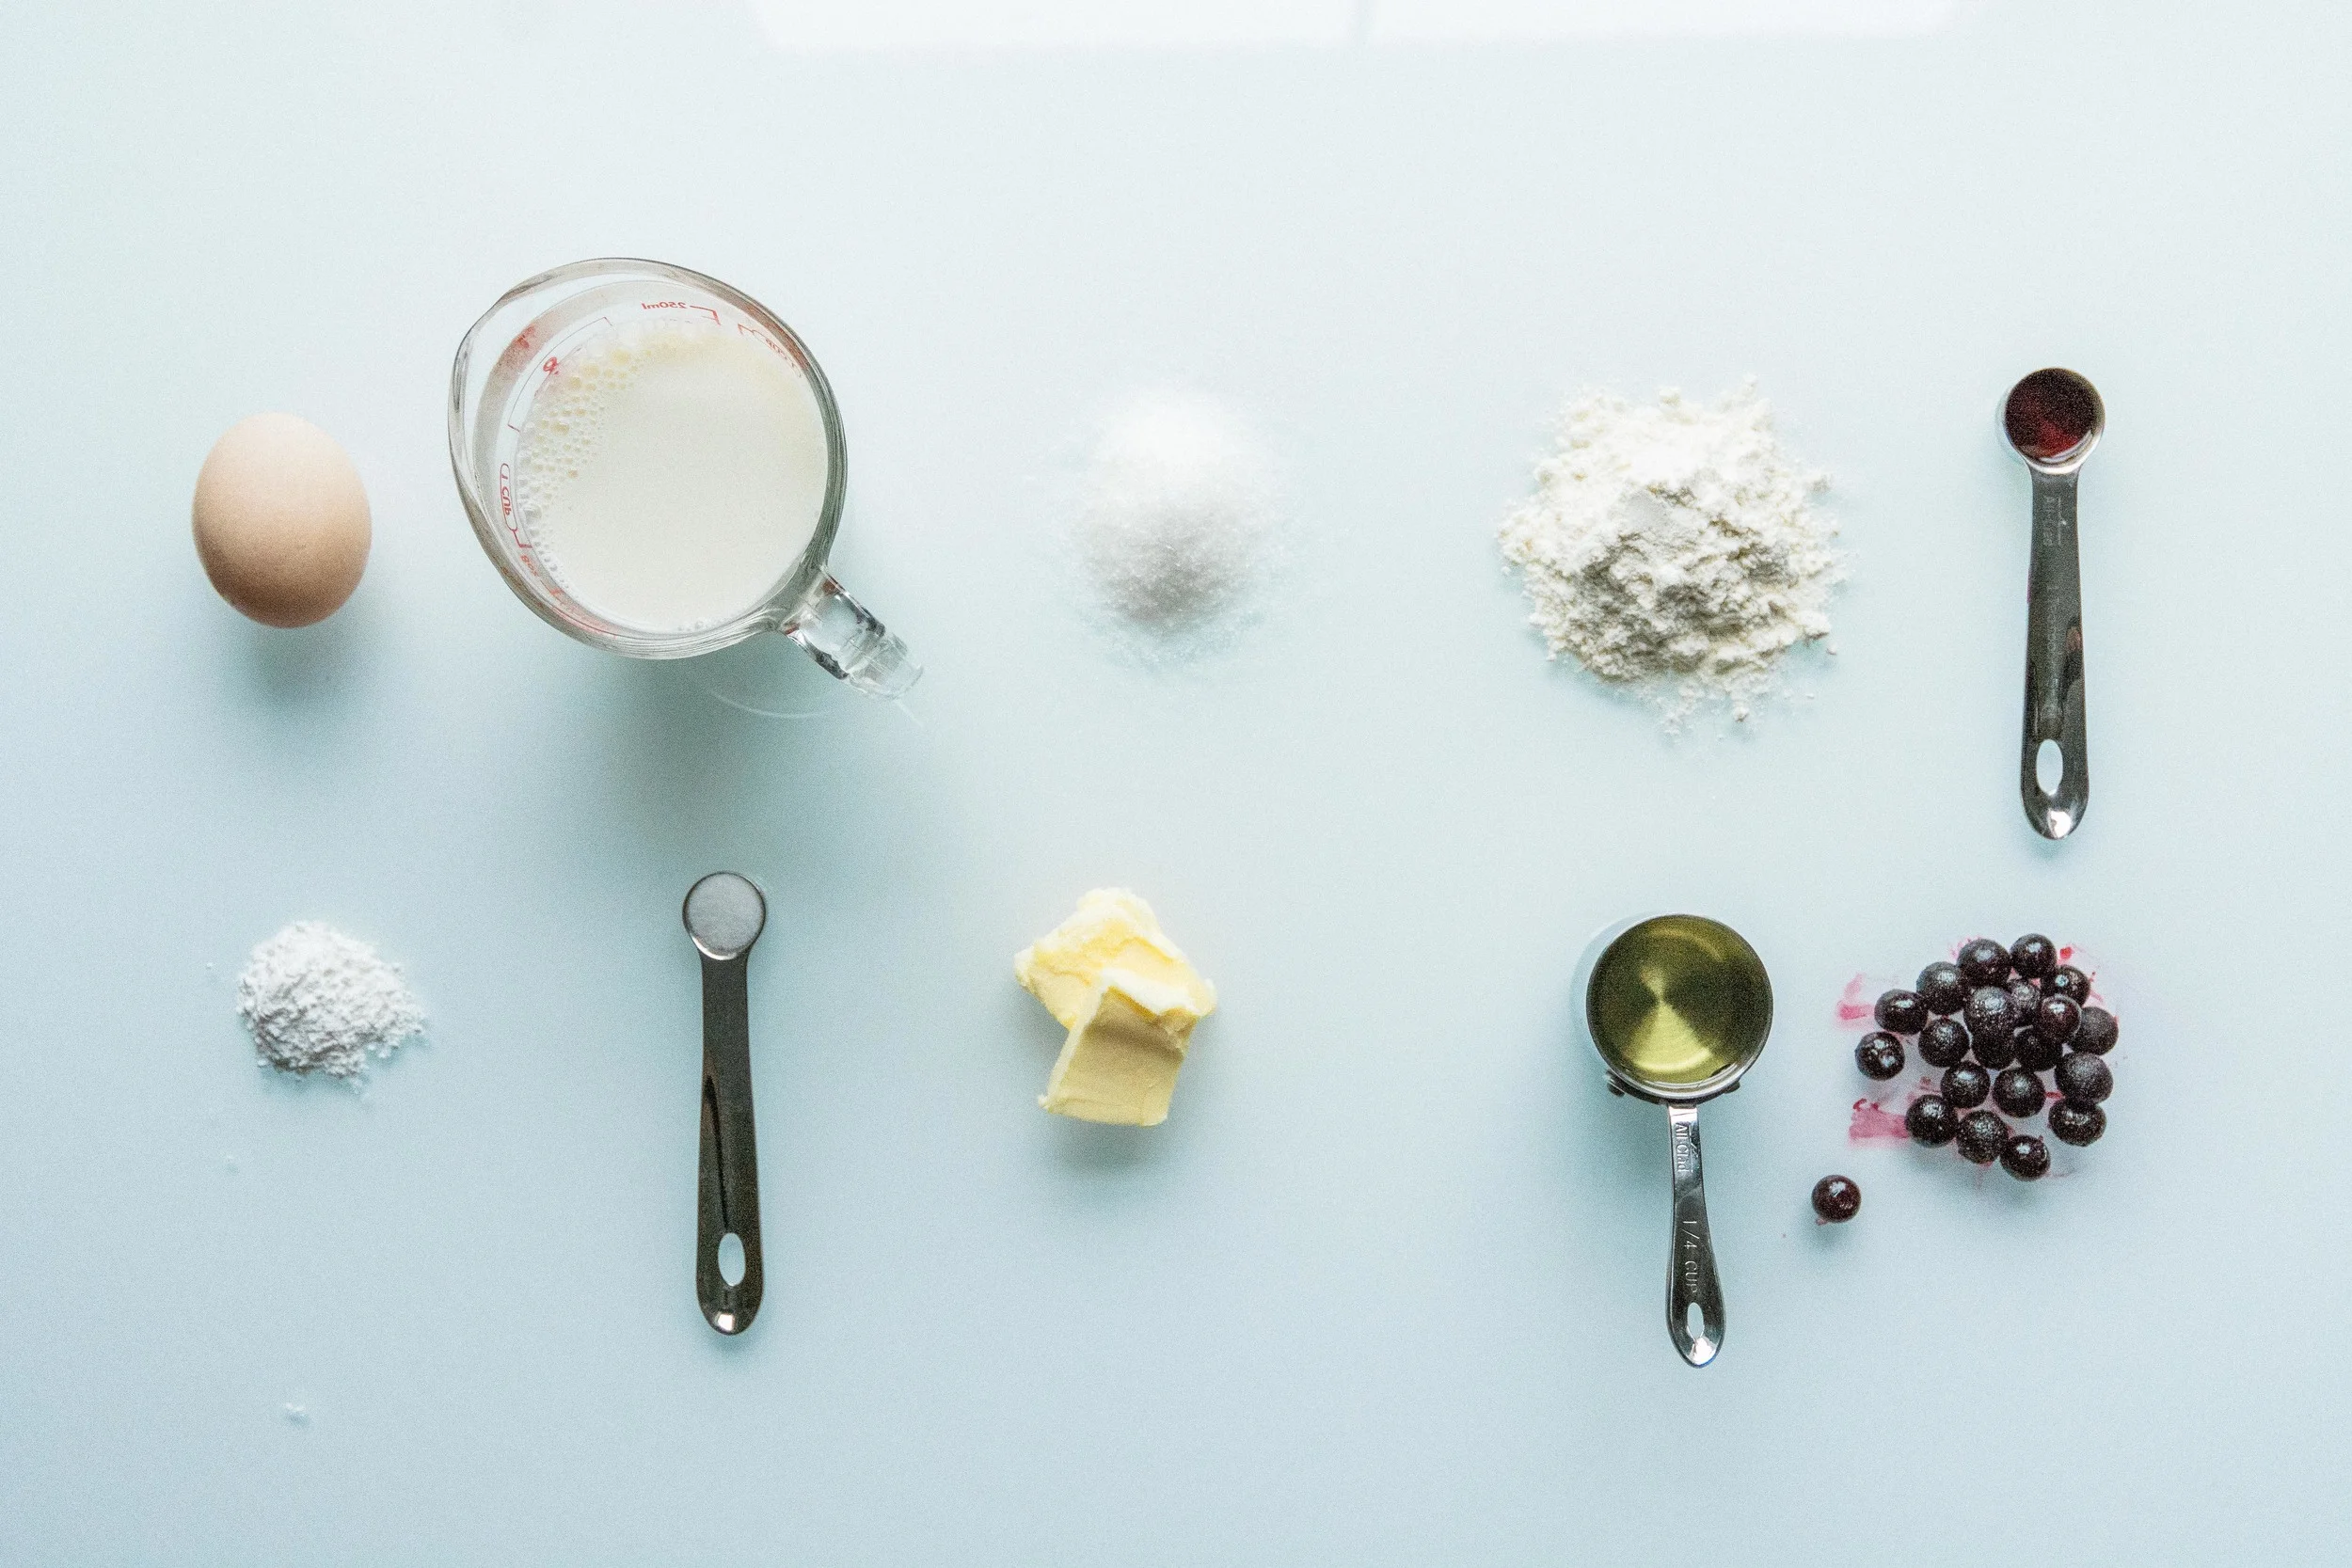
This shot of the muffin ingredients uses line, or a grid format to add interest to what would be a boring photo of ingredients. 

I hope this was helpful with your food photography. I’d love to hear from you and see your progress. Feel free to drop me a line sheena@sheenabates.com and be sure to head over to The Gathering Table and follow my posts. You can also find me on instagram: @gatheringtable. Hope to see you there.


Intro to Food Photography & The Perfect Pie Crust

For thanksgiving this year I made three pies; the most I've ever made all at once. My Granddad is famous for his pie making skills and my Dad has carried on the tradition. I have a lot to live up to in the pie world, but I love making them and they are easily one of my favorite desserts! 

When I want to photograph food, I think first about what I want my surface to be and what kind of background or backdrop I want in my photo; getting these right will compliment the subject matter. You could say I'm more of a minimalist when I shoot; I start with the key parts of my photo and selectively add a few props in as I go. I shot these using only natural light, with a wooden box as my table and my sweet mother in law holding the backdrop behind me. I'll include what settings I used which hopefully will be helpful for you. 

Food Photography Tips - www.mommatography.com

F/2.8, 1/100, ISO 3200

Food Photography Tips - www.mommatography.com

F/2.8, 1/100, ISO 3200             For the rest of the images I used F/2.8, 1/125, ISO 2500

Food Photography Tips - www.mommatography.com

Watch my Facebook page (like us if you haven't already!) and instagram (@mommatography) for my favorite Apple Pie recipe on an upcoming feature! It's amazing, if you can't tell from that glaze. 

Food Photography Tips - The Perfect Pie Crust - www.mommatography.com
Food Photography Tips - Choose your lighting carefully - www.mommatography.com

Make sure you are aware of your lighting when photographing. For the photo on the left, the tungsten lights in my kitchen were on. Shooting with the lights on will make your photos warmer since the tungsten light is more yellow. Mixed lighting can make it hard to get your white balance to look good. I turned the lights off for the photo on the right and just used the natural light from my door. I prefer just using natural light in most cases; it's not as harsh and the tungsten light made my pies way too orange. I use my Kelvin scale to set my white balance; we will cover more about white balance soon. 

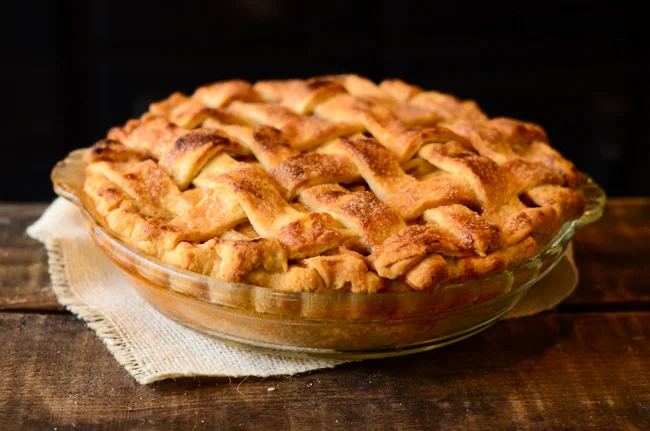
For this image below I actually liked the warmer tones from having my lights on. It made it look a little more golden, and who doesn't want to dive into a pie that is perfectly golden brown with a sugar glazed crust! I shot all of these using my 50mm f/1.8 lens. I love this lens for food photography. 

Food Photography Tips - www.mommatography.com

Play around with different color themes, textures and props. For this pie I just used a piece of burlap underneath it. Sometimes your closest thrift store is the best place to look for props; old pans, colorful dishes and plates, vintage forks and knives, towels and placemats. I love searching for new props. Antique stores are great too. Notice the difference my background makes in both of these photos below; one is light and makes a nice bright scene and the dark one really draws the focus in on the pie. I like both of them, but the mood is completely different. Check back soon for products & supplies I recommend for shooting food, products and portraits at home. 

Food Photography Tips - www.mommatography.com

My Recipe & Tips for the Perfect Pie Crust:

  • 1 1/2 cups all-purpose flour

  • 1/4 tsp salt

  • 1/2 c. and 2 TBS butter (very cold) 

  • 1/4 c. and 2 TBS ice water

In a mixing bowl, combine the flour and the salt. Use a knife to dice up the chilled butter, then using a pastry cutter, cut the butter into the flour until it resembles coarse crumbs. Add the ice water one tablespoon at a time, being careful not to get the dough too wet. Continue this process until it forms a ball. With pie crust, it's important not to overwork the dough (like kneading bread dough). You want the bits of butter to stay cold. Refrigerating the dough for a few hours or over night will help when rolling and shaping your pie crust. Allow the crust to sit out from the fridge for at least 30 minutes before rolling, or it's tough to roll out. I roll my dough once, fold in the edges to form a ball and then roll it out again to make a perfect circle. 

Use your rolling pin to roll the pie crust up and place it easily in your pie pan. I then fold over the lip of the crust along the edges to make it thicker, and (see the images above) using my knuckle, shape the crimps into the crust. 

Recipe adapted from here.

My girls were pretty busy making their own beds out of rugs and backdrops while they waited for the pies to finish cooking. They will find anything to use as a blanket these days! Maybe I shouldn't have them running around in just diapers in November :) Funny things happen when mom is busy cooking and taking photos in the kitchen...